
MENU


Filed Under:


May 4, 2017
UP NEXT >>>
Foam Rolling 101
Welcome to Foam Rolling 101; class is now in session! 😉 I am in week 10 of BBG, and between the resistance trainings, LISS, HIIT Cardio AND my yoga practice I have been feeling so sore! In an effort to relieve my muscles so I can stick to my routine (without the excuse of being too sore) I have been exploring some ways other than my usual epsom salt bath to help me bounce back quicker after workouts! Since joining my new gym, I’ve been seeing people rolling on foam rollers, and I even own a foam roller.. but I never used it; partly because I didn’t know how to, but mostly because I didn’t know how beneficial foam rolling actually is, especially when you are training and working out frequently.
What is foam rolling?
Foam rollers are exercise devices used for massage and fitness. … When used for self-massage, they help soothe tight, sore areas known as trigger points (you’ll know when you find the spot !) and speed up muscle recovery. When using a foam roller correctly, you can literally roll out your tight muscles to relieve tension, which in fancier terms is called a myofascial release. Foam rolling can be performed on rest days, or after a training session. The benefits of foam rolling have to do with mobility of the fascia. Fascia is a fibrous layer of connective tissue that surrounds all of the muscles in our body. Without proper mobility, fibers of the fascia become cross linked and they bind to muscles and nerves, inhibiting normal motion, causing pain and stiffness. Some other amazing benefits of foam rolling are: increased blood flow, increased range of motion, and even helps reduce cellulite! HOT DAMN!
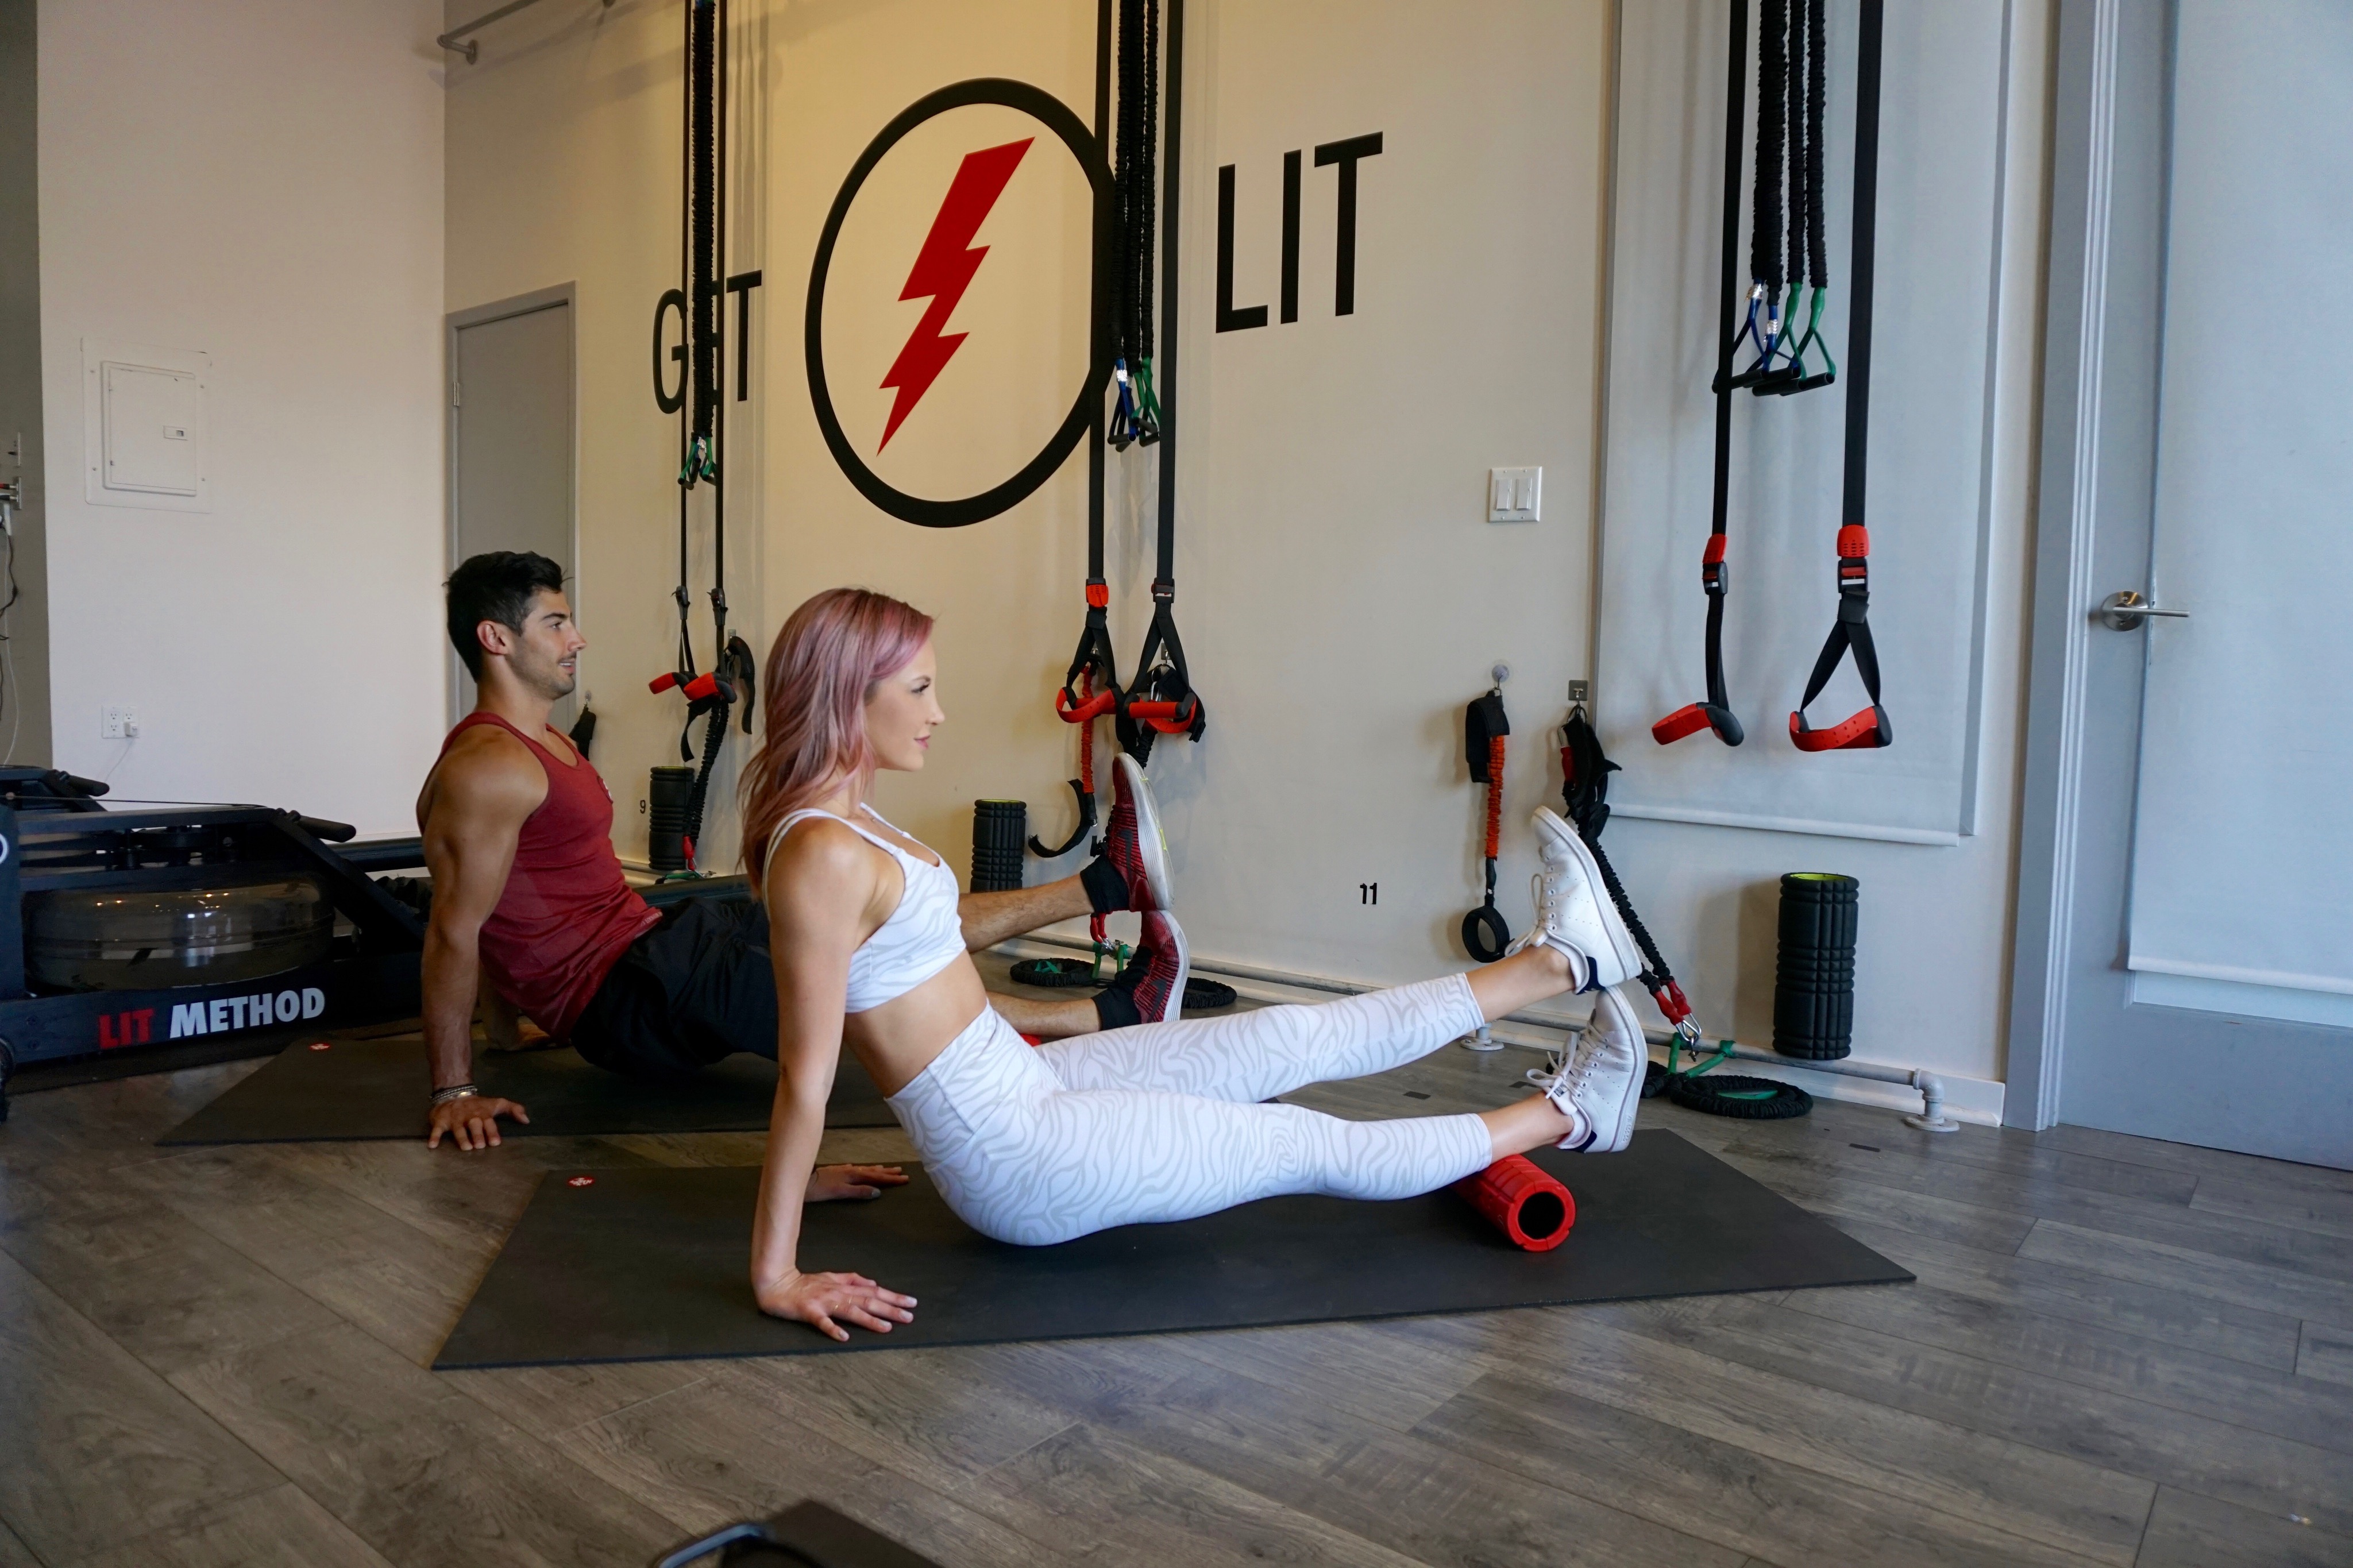
Since I had zero knowledge of how to foam roll correctly, I teamed up with my friends Justin and Taylor from Lit Method to bring you some simple and effective foam rolling moves!

Quads
Place the foam roller slightly above your knees and begin to lay on your quads supporting yourself on your forearms. Slowly roll up quad muscle to release all the lactic acid buildup.

IT Band
Start in side plank position, leaving your bottom leg extended and your top leg in flexion. Supporting your bodyweight with your forearm and foot, Slowly roll up to your hip and down to the tip of you knee and back.

Glutes
Start in seated position and sit on top of the foam roller. Slowly roll up and down.

Glutes with Rotation
Start in seated position; sit on top of the foam roller crossing one leg over the opposite knee. On the side that the knee is bent, lean into the foam roller to emphasize on the glute, which will aid in injury prevention and decrease low back pain.

Lumbar
Lie on your back and place the foam roller on your low lumbar, slowly roll the foam roller up to your shoulders and back

Calves
Start in seated position with both calves resting on the foam roller. Place your hands by your side and begin to elevate yourself off the floor slowly rolling up and down your calves.


Calves with rotation
To intensify rolling out your calves, stack one foot on top of each other and slowly rotate side to side. This will help to break up lactic acid and increase ankle mobility.

A few of my other go-to foam rolling moves:
Quads with Flutters
As you are roll out your quads, find a specific “sticking point” which means the place on your muscle that hurts the most. Once you find that spot, breathe and slowly flutter your legs back and forth to receive the ultimate benefits
IT Band Intensified
To intensify this, stack your legs on top of each other and slowly roll up and down your IT Band.
Lats
Lay on your side with your arm extended; place the foam roller underneath your arm on your Latissmus Dorsi muscle, otherwise known as the “lat” muscle. This movement will be small, but very effective.
One more tip: BREATHE! Breathing through the discomfort will help your muscles release, and allow the foam roller to do what it’s supposed to! When you hit a spot that is particularly… uncomfortable (lol) try to breathe deeply and hold for 30-60 seconds before backing out!
Thank you to my friends Justin and Taylor over at LIT Method for guiding me through foam rolling and showing me how it’s done! If you guys are in the West Hollywood area, go check out their studio! They are amazing!!


Comments Link