MENU
Filed Under:
April 5, 2021
UP NEXT >>>
Yoga Poses For Beginners
If you’re new to yoga: YAY! Welcome to the club my friend! I know yoga can feel intimidating at first, but trust me when I say every single yogi has had to start from exactly where you find yourself at, the beginning, so know you are in good company. The cool thing about the physical practice of yoga is that all you have to do to “improve” is just show up consistently, and do so without judgment (the non-judgement part can be the challenging part!) but with time, patience and practice your yoga practice will start to take new meaning and the poses will feel more fluid. I know it can feel challenging to remember all of the different yoga poses (I remember my first class so vividly 13 years ago – I felt like I was struggling to keep up the whole time! Side note if you’re keen to hear about my first yoga class all those years ago def. read my post on How I Found Yoga!) so in an effort to provide some clarity and guidance I’m sharing 8 yoga poses for beginners that every yogi should know! Getting familiar with the names of these yoga poses and the poses themselves will really help bring some more ease to your practice.
Before we dive into these yoga poses for beginners I do just want to point out that this is called a yoga practice for a reason: it’s a practice! The shapes and poses will feel different each day, some may feel more accessible than others on any given day, but that’s the fun part about this practice! It ebbs and it flows, just like everything in this world. Allow yourself to be exactly where you’re at without judgement, and know that regardless of your starting point choosing to start at all is a reason to celebrate in itself!
8 YOGA POSES FOR BEGINNERS
DOWNWARD FACING DOG | Adho Mukha Shvanasana
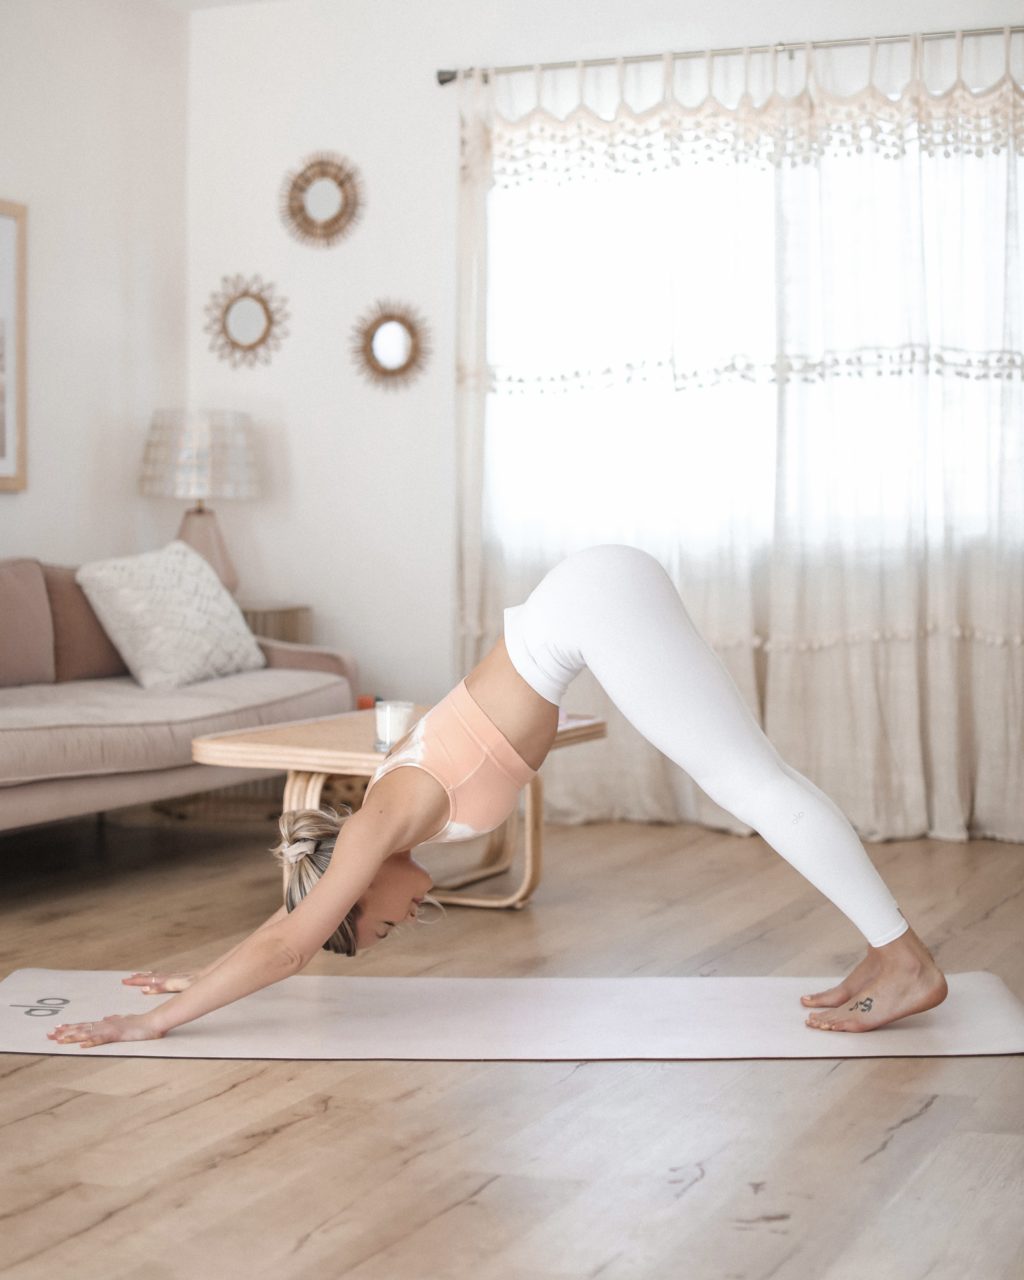
The Sanskrit term for this pose is Adho Mukha Shvanasana, but it is also commonly referred to as downward facing dog or just down dog! Downward facing dog is both a strengthening and a rejuvenating posture. It stretches the calf muscles, strengthens the shoulders and arms, and elongates the torso and spine. A good rule of thumb with downward facing dog is to begin in plank pose (which I break down for you below!) to find the appropriate placement of hands and feet! From plank pose, with the hands stacked directly under the shoulders, shift the hips up and back. Hands should be roughly shoulder distance apart or slightly wider with the finger spread wide. A common mistake I see in yogis is dumping the body weight into the heel of the hands, which can cause wrist pain or worse, wrist injury! To avoid this spread the fingers wide and have the pointer fingers pointing forwards with the other finger slightly turned out, actively press down into the hands and draw the forearms in toward the midline as you lift them up and away from the mat. Rotate the outer arms outward and slide the shoulders down the back, keeping the neck free and long. Draw the shoulders away from the ears, front ribs in (to prevent a backbend) and suction the belly towards the spine. Think of pointing the tailbone up towards the sky as you firm the thighs back. If you have tight hamstrings like me (hello weight lifting 😅) feel free to micr-bend the knees to find optimal alignment in the spine. In my opinion it’s far less important to get the heels all the way to the ground and much more important to prioritize proper alignment in the spine!
PLANK POSE | Phalakasana
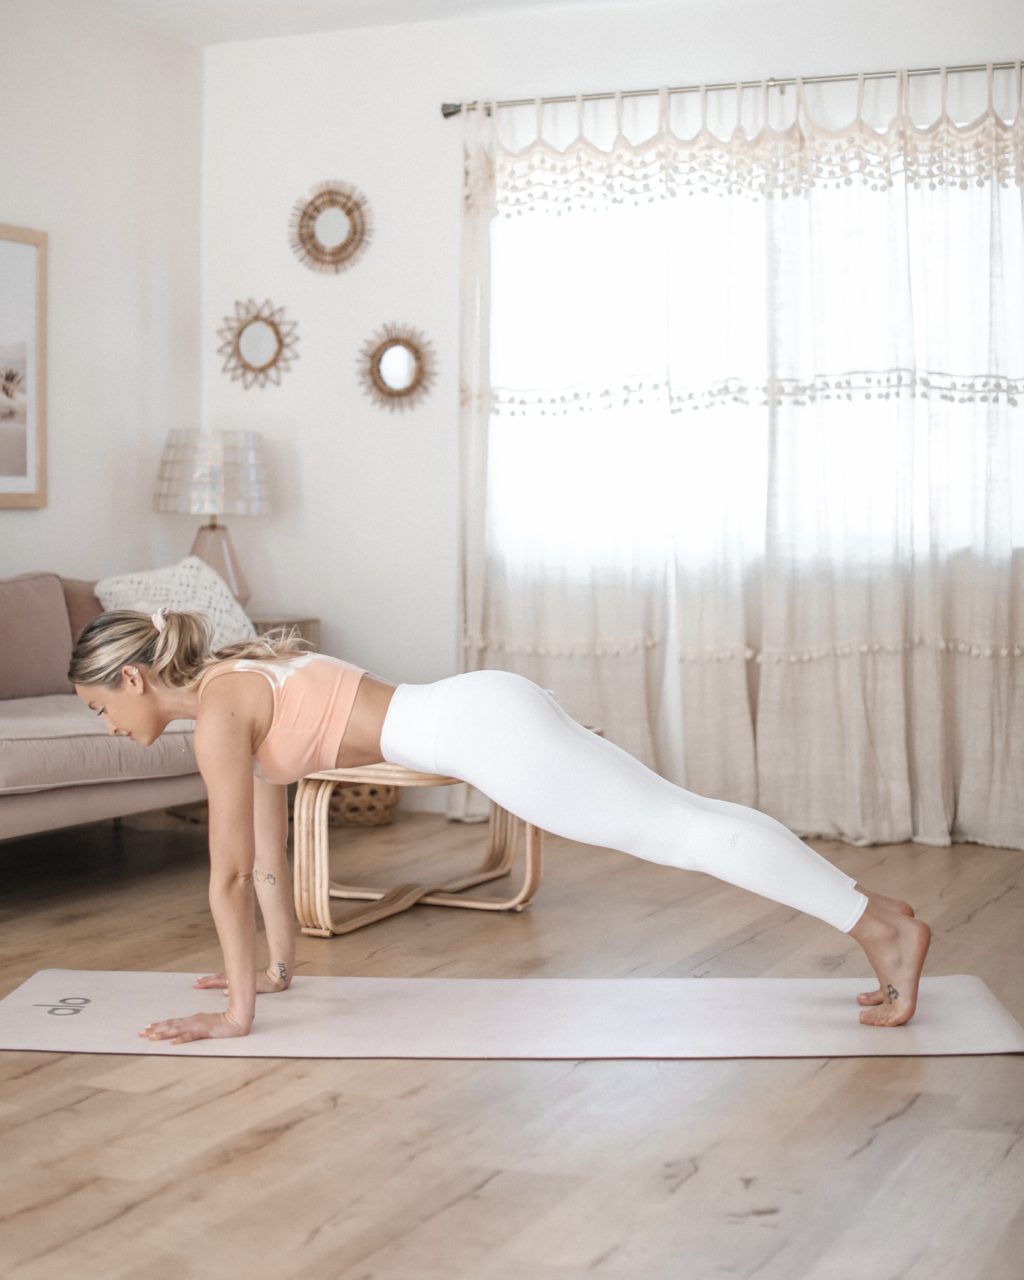
The Sanskrit term for this pose is Phalakasana, but it is also commonly referred to as plank pose or high plank! Plank pose is a fantastic posture that strengthens the upper body while toning the abdominal muscles. Beginning in downward facing dog shift the body forward on an inhale stacking the shoulders directly over the wrists with your arms perpendicular to the floor. Spread the fingers wide and place the weight evenly through the palms. Your hands are actively gripping the mat as you energetically lift the body away from the floor – this is important because in plank pose (and all active yoga poses for that matter) we should never dump into the joints, think of pressing down into the hands and feet to lift UP! There’s a slight doming action in the upper back, and you really want to hug the forearms toward the midline, draw the chest forward and spread the collarbones wide as you slide the shoulders down the back. It’s also really important to draw the lower belly up to help support the spine! You want to think of lengthening the tailbone towards the heels as you send energy out through the heels and distribute weight evenly among all 10 toes. Keep the gaze slightly forward to ensure the neck and cervical spine is aligned with the rest of your spine. If you’re still building strength in this posture you can place the knees on the mat behind the hips for support!
CHATURANGA DANDASANA | Four Limbed Staff Pose
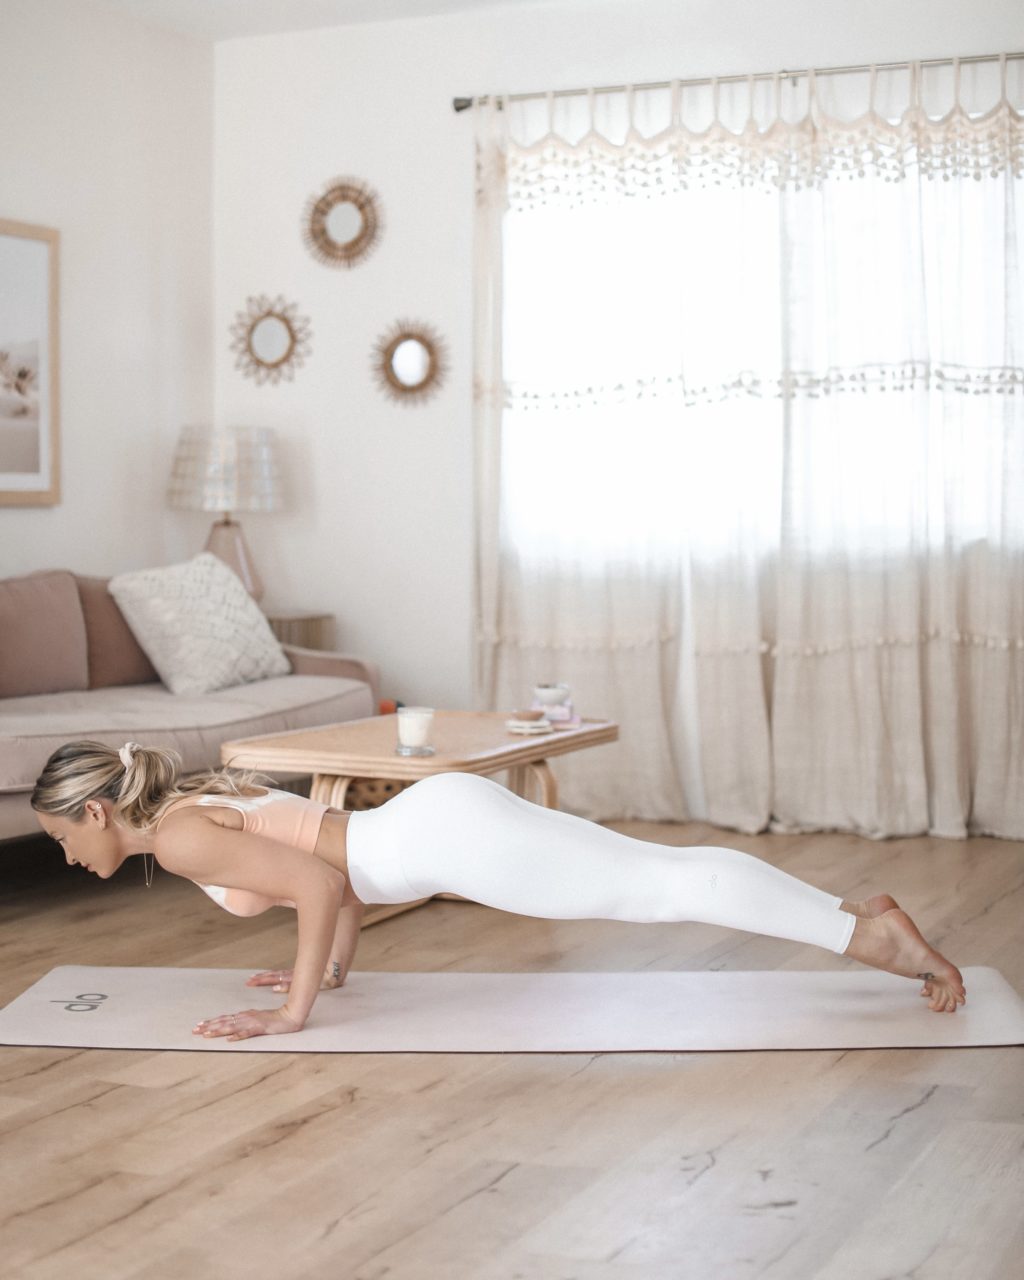
The Sanskrit term for this pose is Chaturanga Dandasana, but it is also commonly referred to as low plank or just chaturanga! Chaturanga Dandadana, translated in English as four limb staff pose, strengthens the upper body while toning the abdominal muscles. Beginning in plank pose take an inhale and shift the weight forward toward the tips of the toes moving the shoulders beyond the wrists. On an exhale bend the elbows stacking the elbows directly above the wrists and hugging the elbows into the body as the outer arms wrap back. Lower the body until the upper arms are parallel to the floor with the elbows directly above the wrists and the shoulders aligned directly with the elbows. The shape to keep in mind is a 90° angle in the arms. An important alignment aspect here is to firm the back of the thighs up as the inner thighs spiral towards the sky, your gaze is also going to help you cultivate stability so instead of looking down, gaze directly beyond the finger tips while still keeping the neck long as well as keeping the neck and cervical spine aligned with the rest of your spine! If you’re experiencing any wrist weakness or pain you can modify this pose by placing the forms on the mat until your wrists heal/strengthen, or you can also drop the knees as you continue to build strength.
UPWARD FACING DOG | Urdhva Mukha Shvanasana
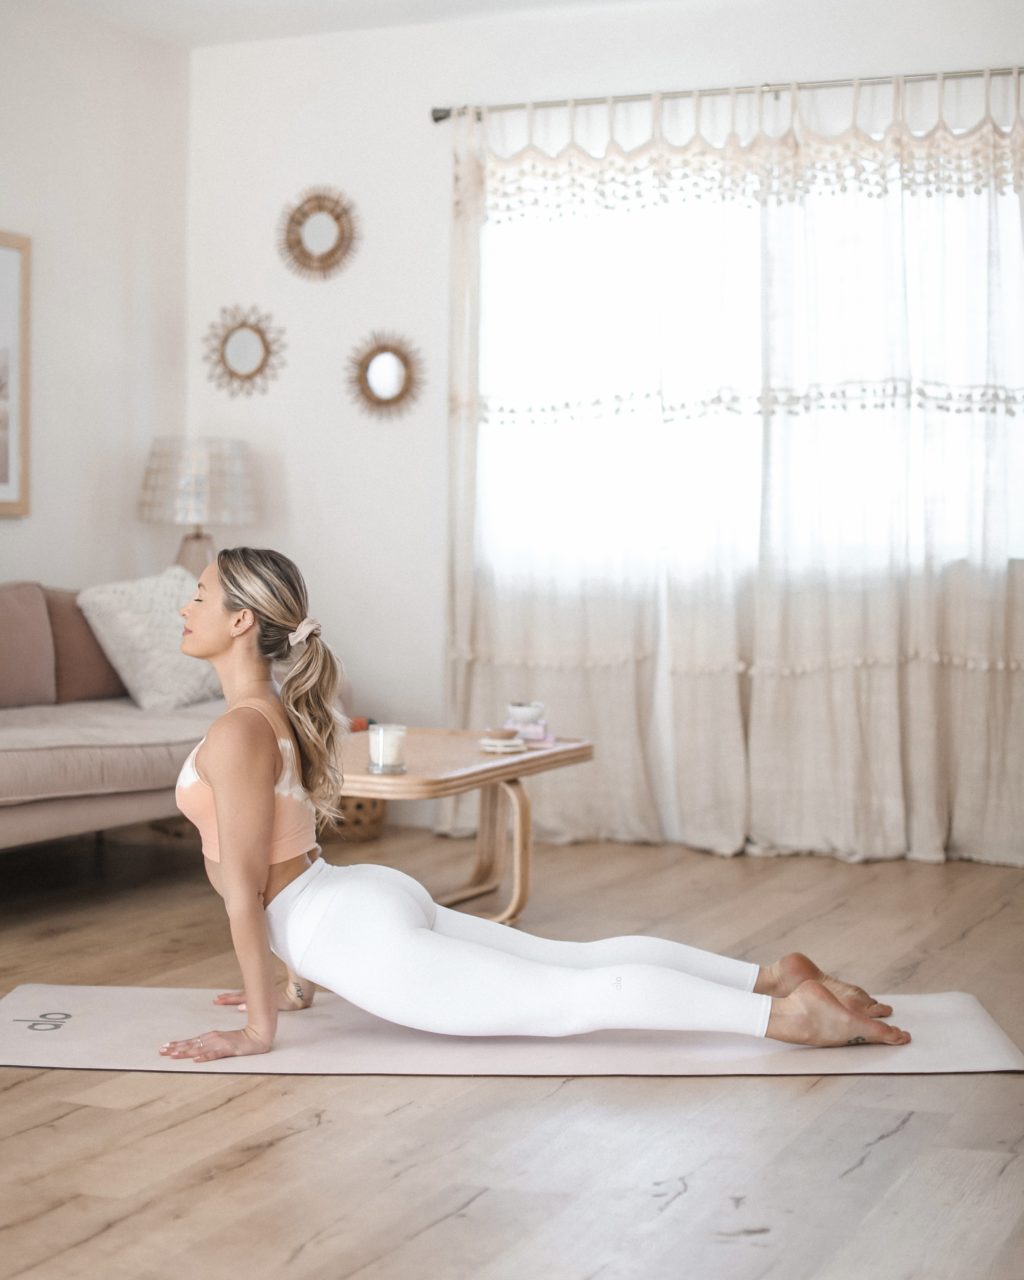
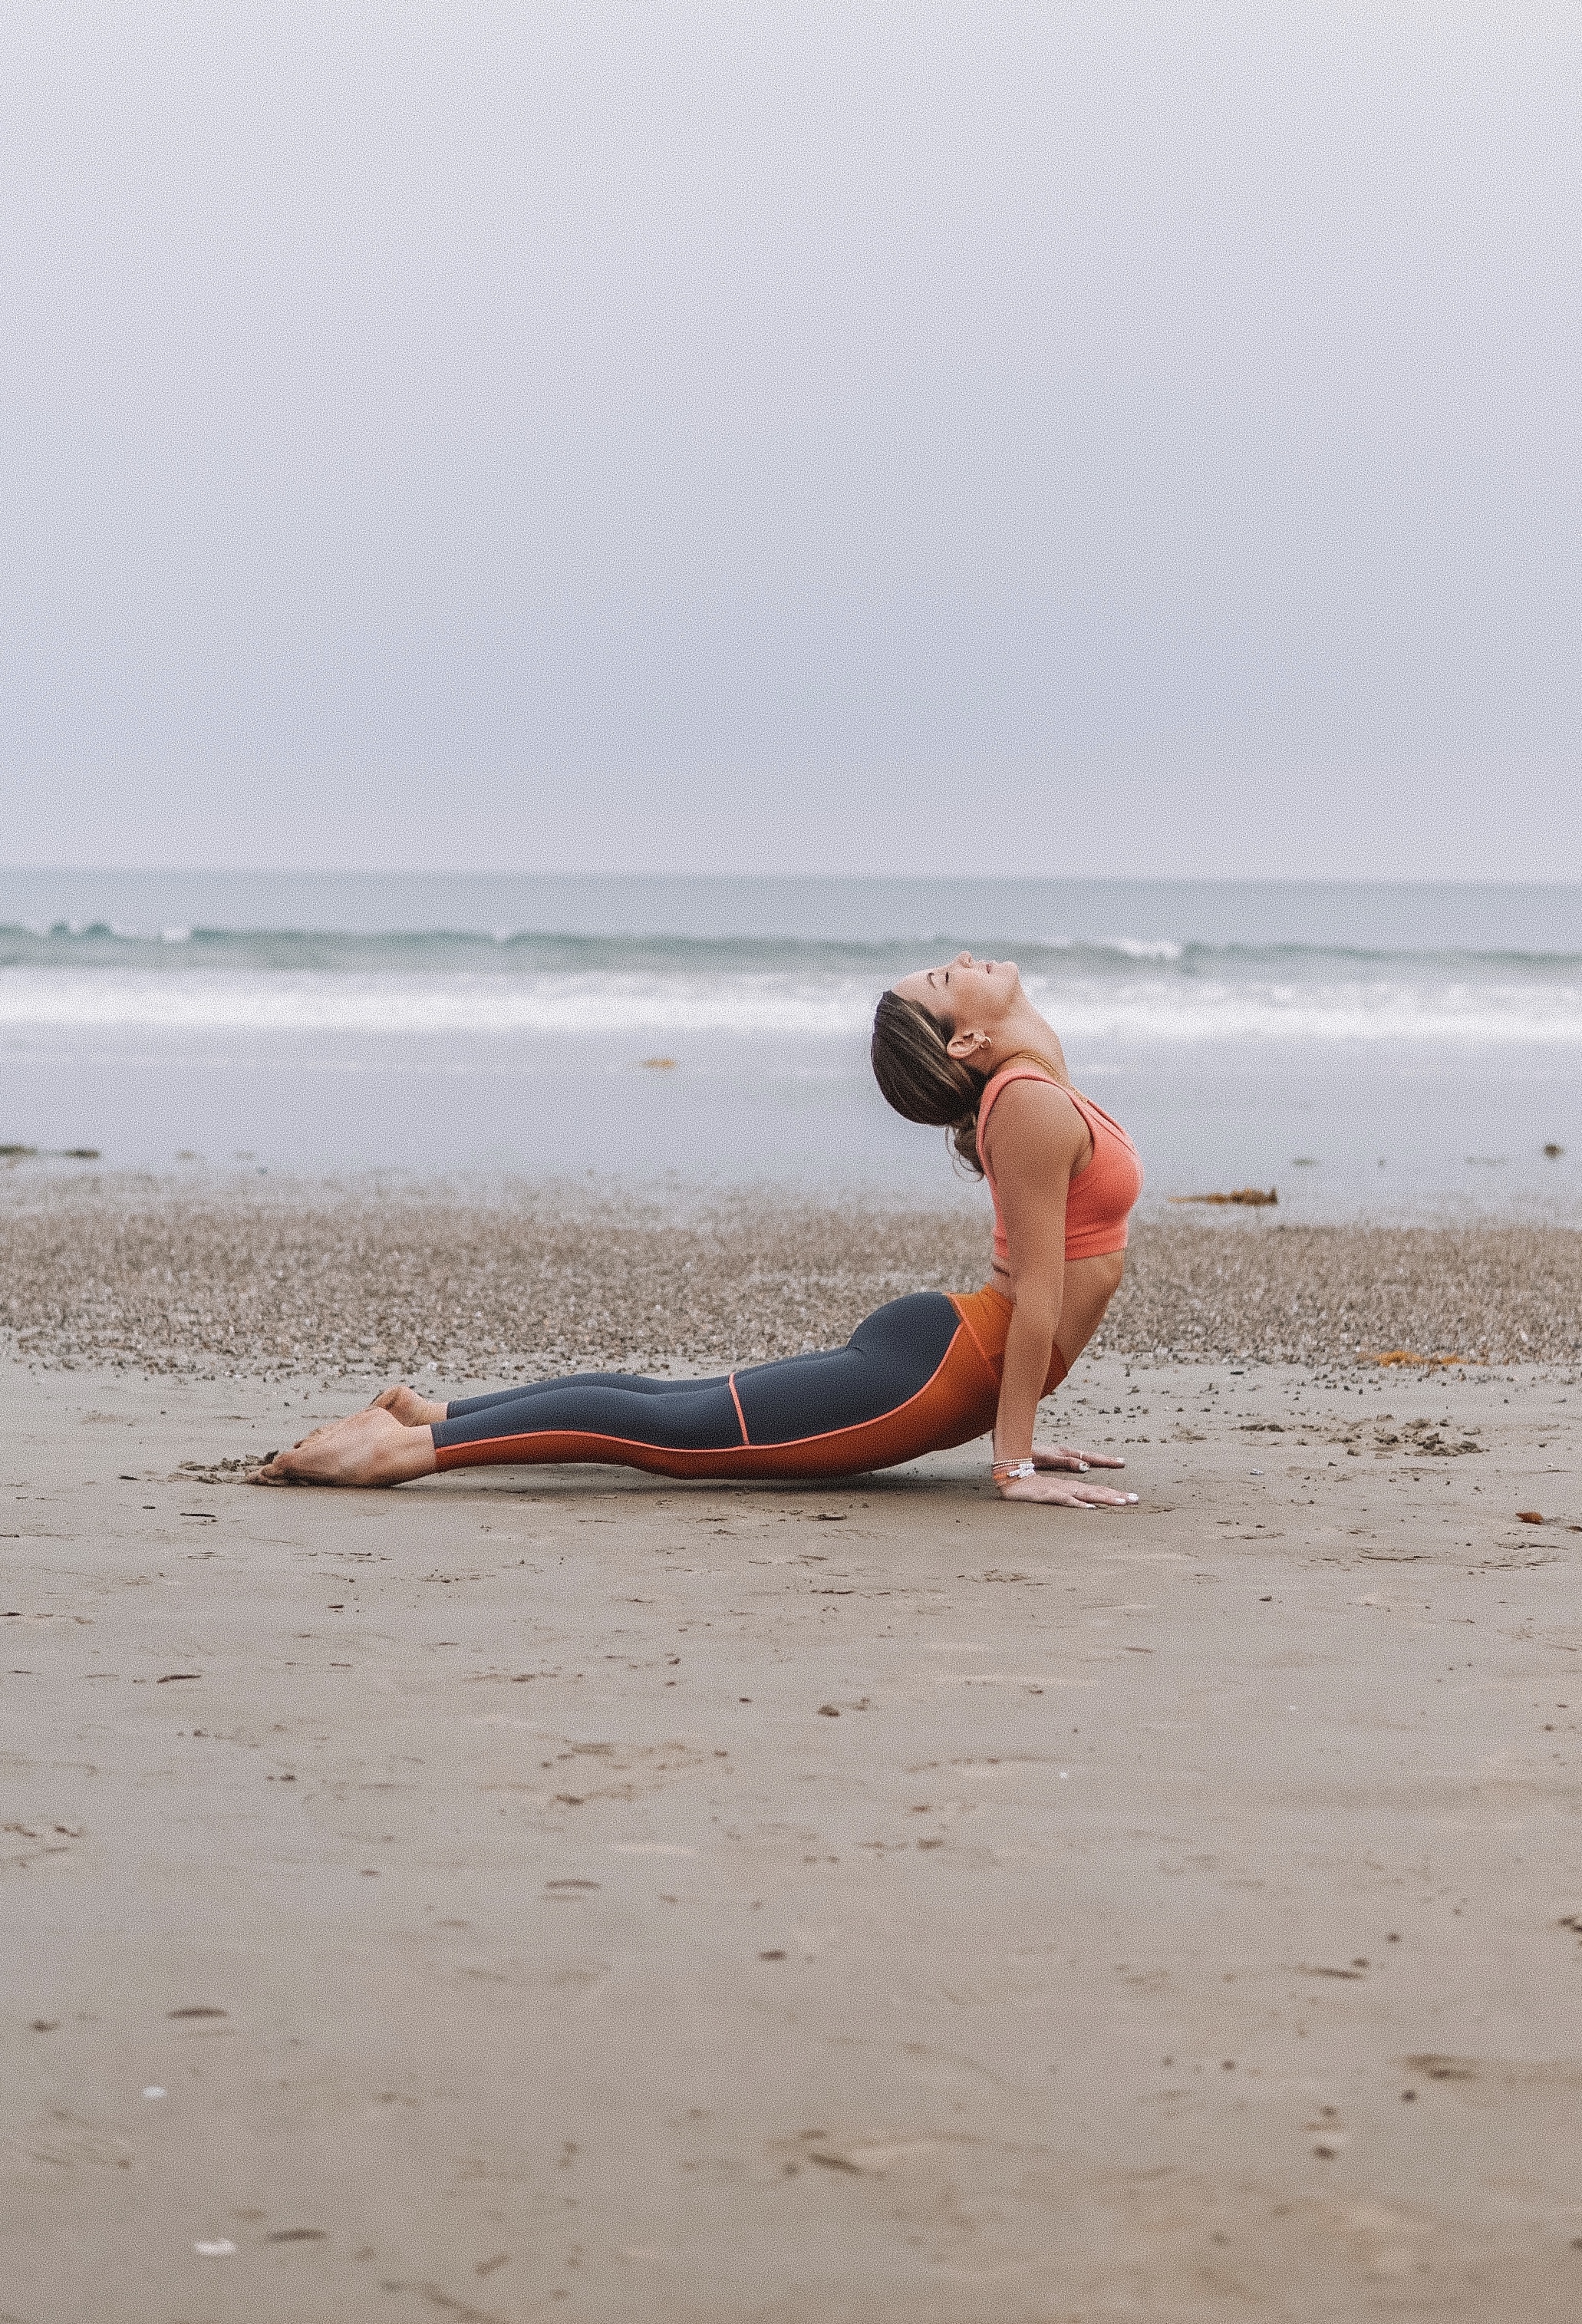
The Sanskrit term for this pose is Urdhva Mukha Shvanasana, but it is also commonly referred to as upward facing dog or just up dog! Upward facing dog strengthens the arms, shoulders, back, spine and thighs. It also helps open the front body and chest! A couple of key things to note here in this posture: again, you’re not dumping the weight down into the wrists but rather pressing down into the hands and the tops of the feet to lift energy up and forwards from the heart space/sternum. Shoulders pull back as your chest expands forward. Hips and thighs are off the mat, the only things touching the earth are the hands and the tops of the feet! If you’re still building strength in your yoga practice start with cobra pose as you build strength!
CRESCENT POSE | Ashta Chandrasana
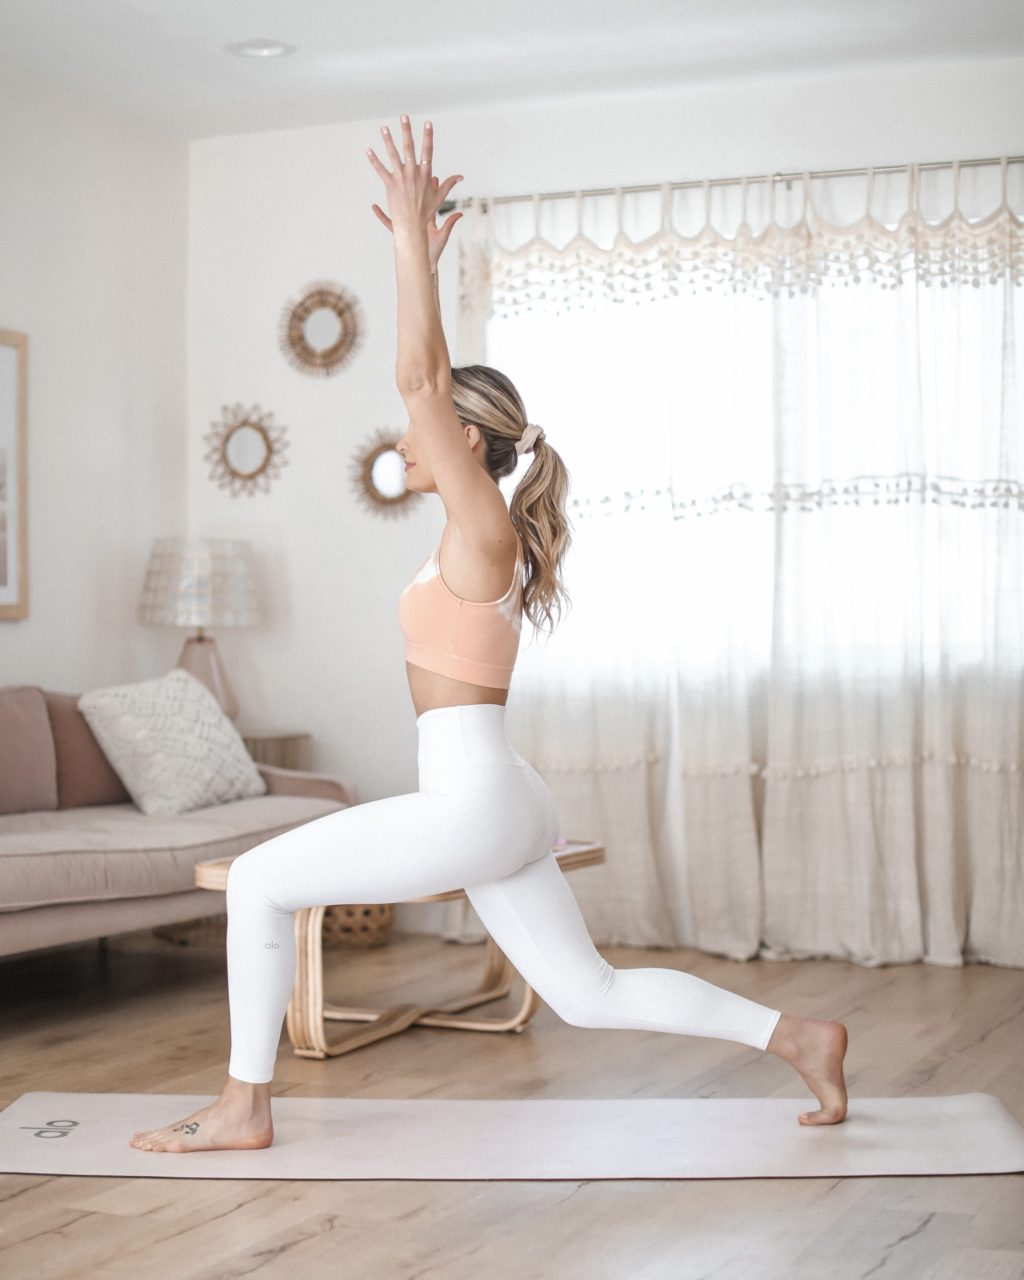
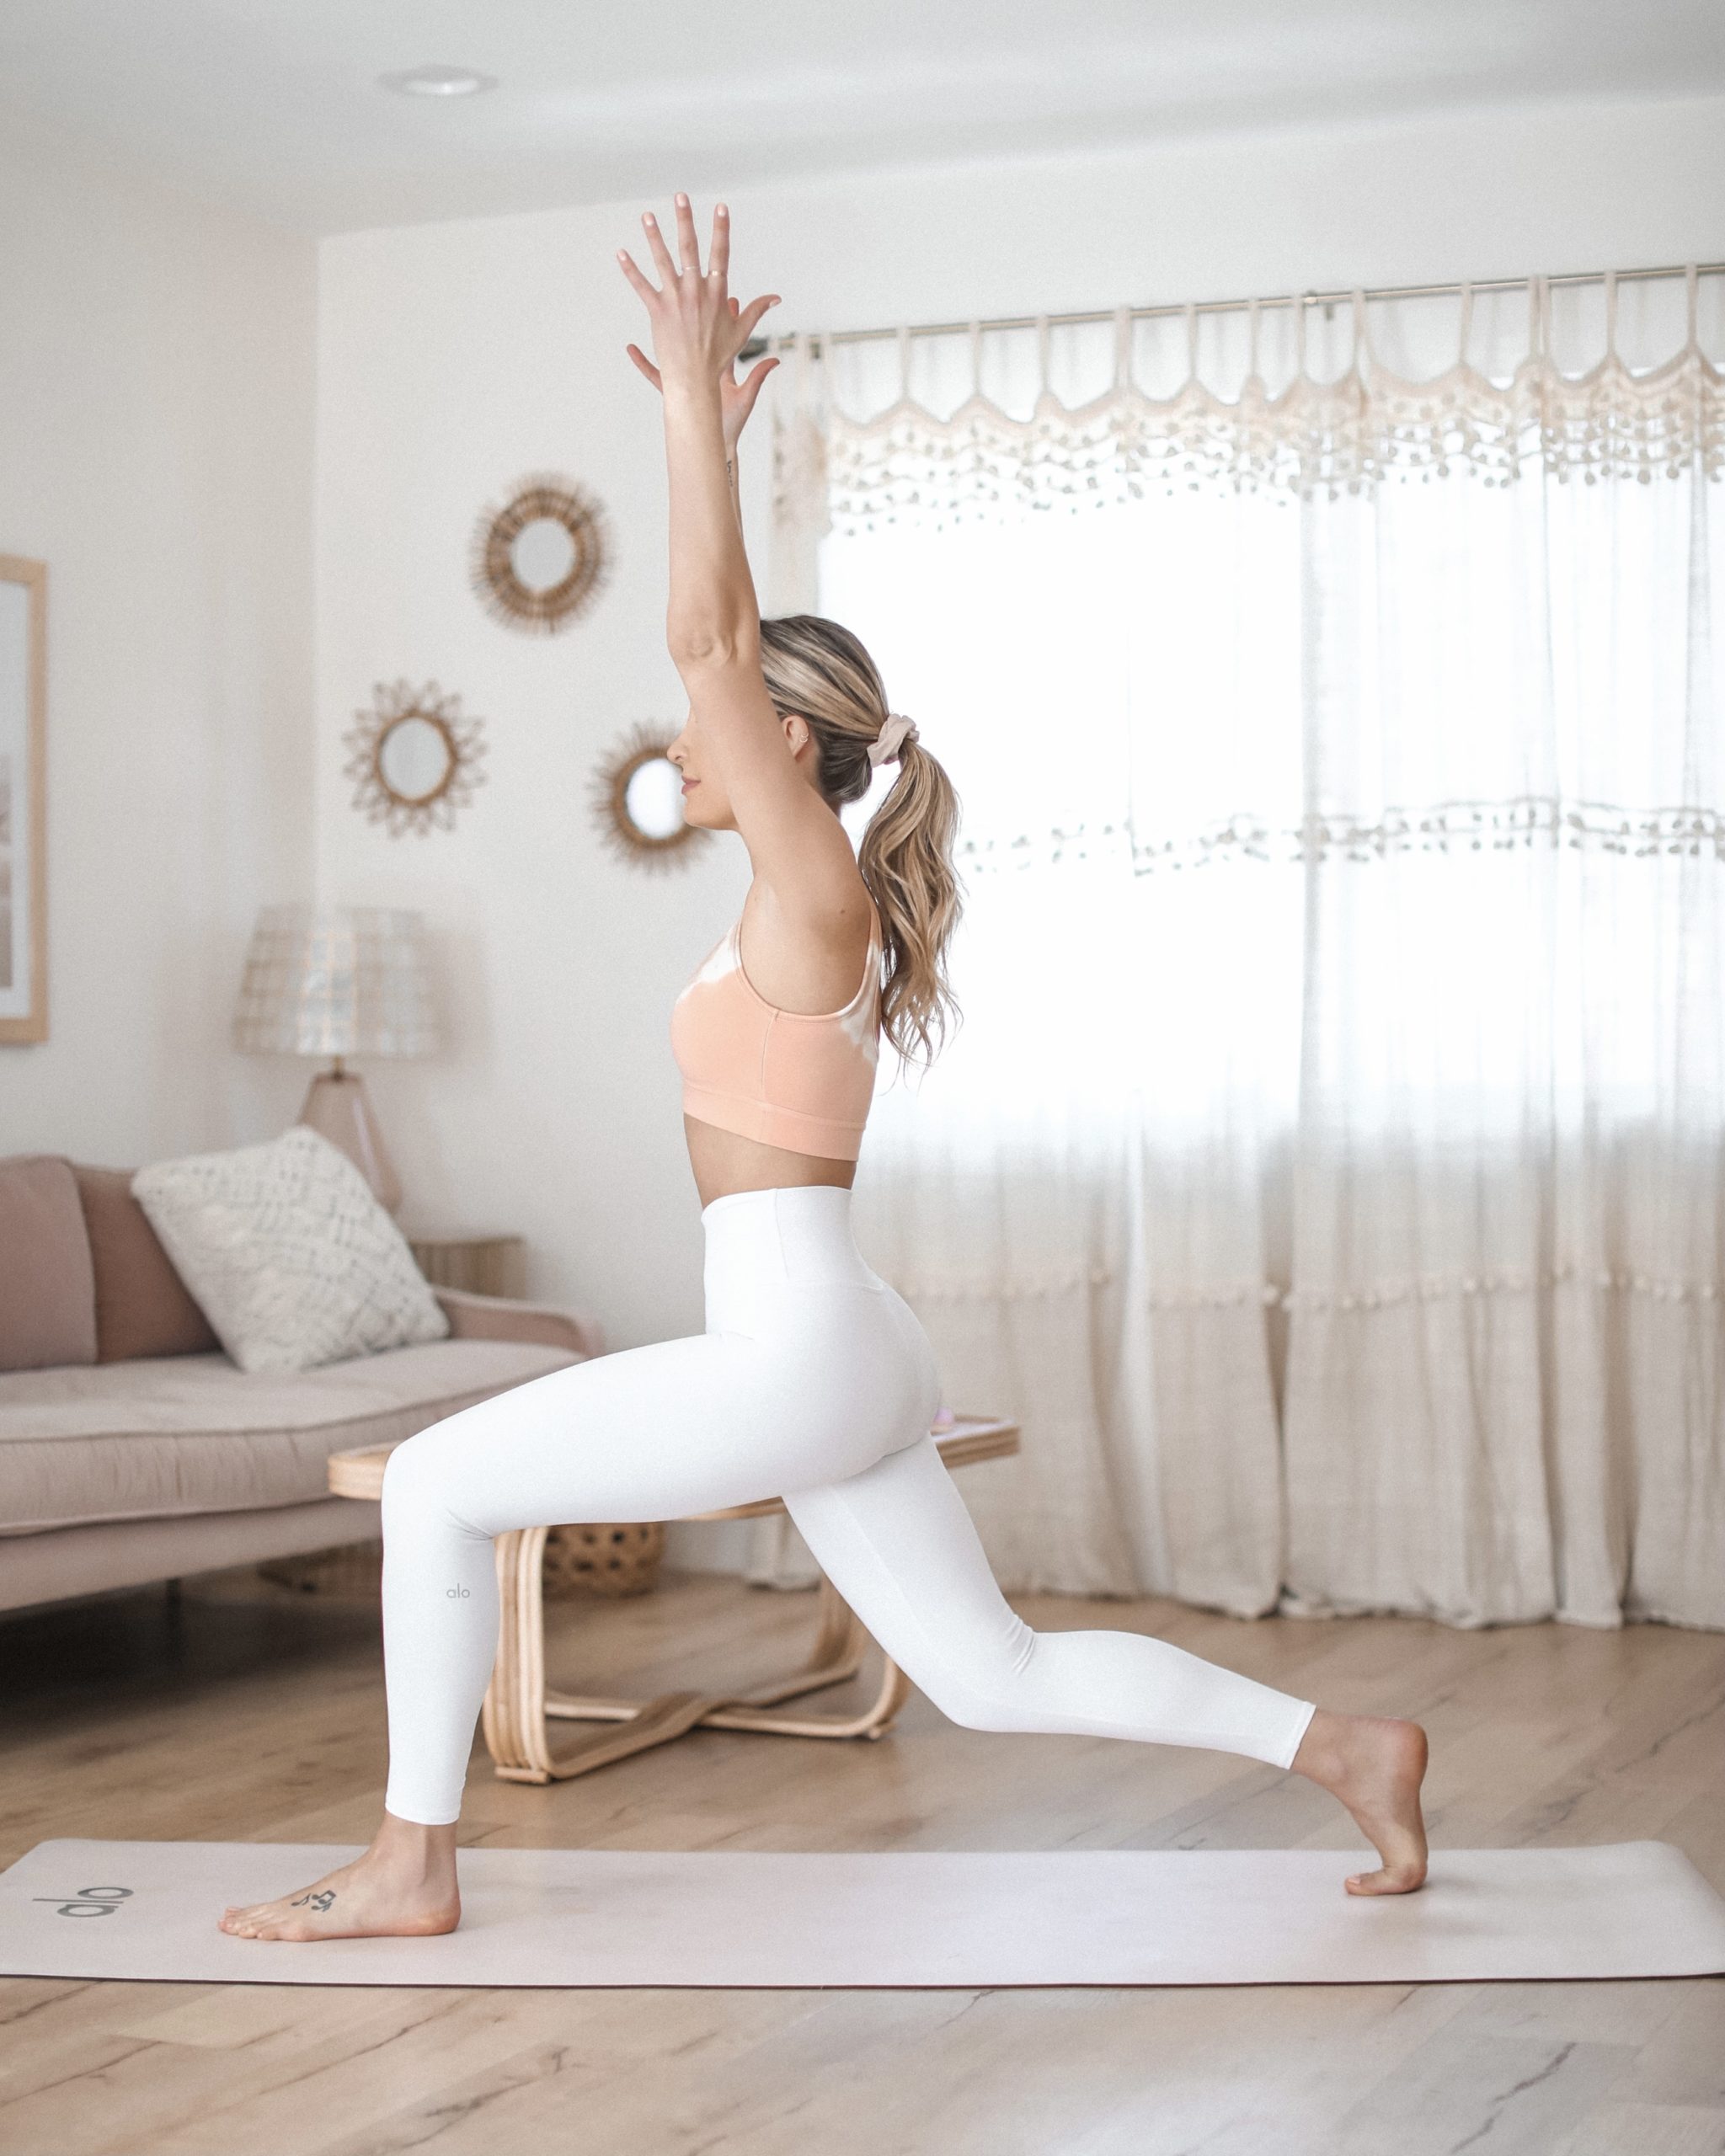
The Sanskrit term for this pose is Ashta Chandrasana, but it is also commonly referred to as crescent pose! Crescent pose is fantastic for both building strength and stretching, as it build strength in the legs while stretching both the psoas and the groin. If you have a knee injury feel free to make a modification by lowering the back knee to the mat. A few key alignment points for this pose: make sure that the feet are hip width apart to achieve optimal stability. The front knee should be stacked directly over the front ankle and the front foot is completely grounded with the toes spread wide + actively driving down. The back heel is lifted as you driving into the ball of the back foot, arms reach high, fingers spread wide, and front ribs draw in. I like to teach (and practice) with a bend in the back knee to avoid overarching the spine; doing this allows you to engage your belly and find proper alignment in the spine and hips.
WARRIOR II | Virabhadrasana II
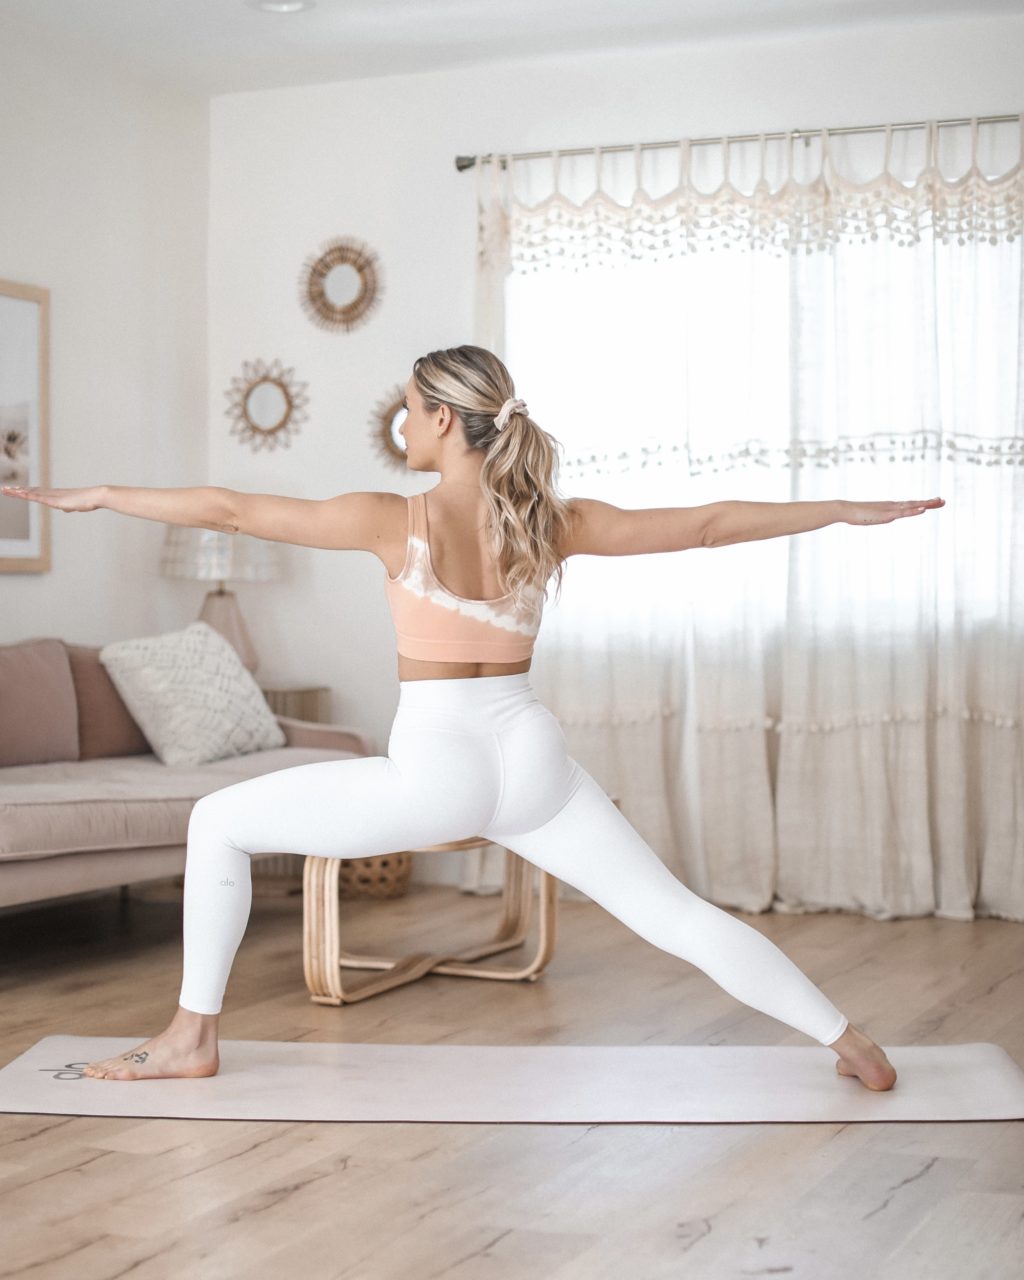
The Sanskrit term for this pose is Virabhadrasana II, but it is also commonly referred to as warrior II! Warrior II is a heat building posture that strengthens and tones the legs while aligning the shoulders, hips and pelvis. A couple of things to note in this posture: if accessible in your body, aim for a wide stance about the length of your mat (give or take depending on your height!) Front toes are pointing forwards while your back toes are angled in words towards the upper corner of your yoga mat – the outer edge of the back foot should be completely sealed to the mat. If accessible in the body work towards sitting deeply into the front thigh until it’s parallel with the mat, keeping the front knee stacked over the front ankle. Gaze out over the front fingertips as you draw the front ribs then and allow the shoulders to relax down the back.
REVOLVE WARRIOR | Viparita Virabhadrasana
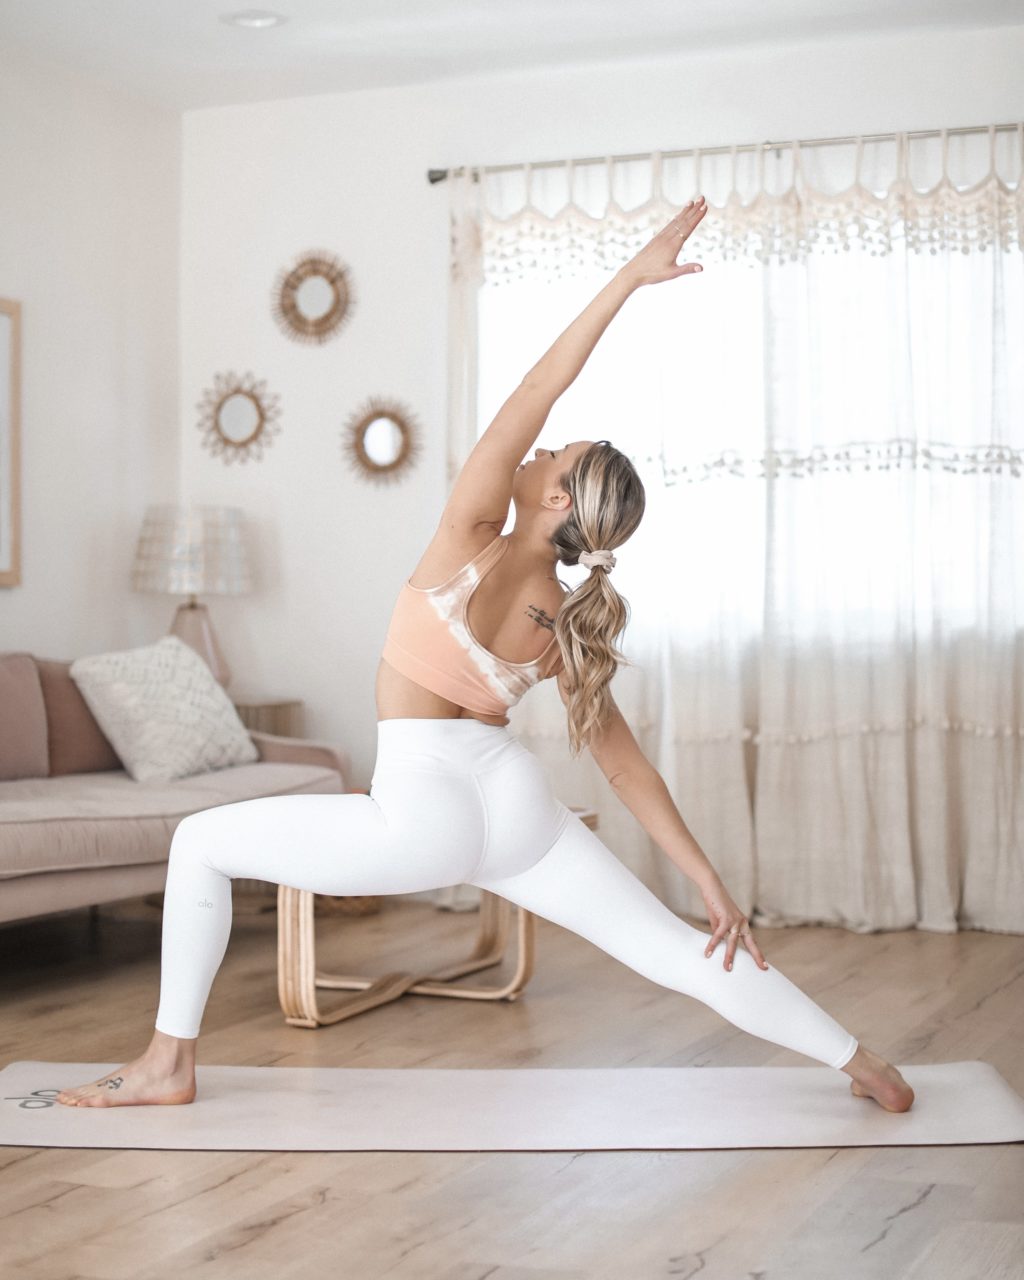
The Sanskrit term for this pose is Viparita Virabhadrasana, but it is also commonly referred to as reverse warrior or revolve warrior! Reverse warrior is another heat building posture that strengthens the quadriceps, stretches the chest and obliques, and opens the inner groin muscles and hips. For this pose you want to keep everything you have from warrior II and then rotate the front palm towards the ceiling and sweep the front arm over the head keeping the arm straight and the fingertips reaching back. Rest the backhand gently on the back thigh with the palm down and gaze under the front arm. Maintain a deep stretch as the front arm reaches back and keep the lower body in warrior II for the duration of the pose. To protect the back knee from buckling keep the back thigh firm and engaged at all times! If you are experiencing any neck pain proceed with caution and feel free to gaze directly ahead or down to help maintain ease in the neck.
TREE POSE | Vrikshasana
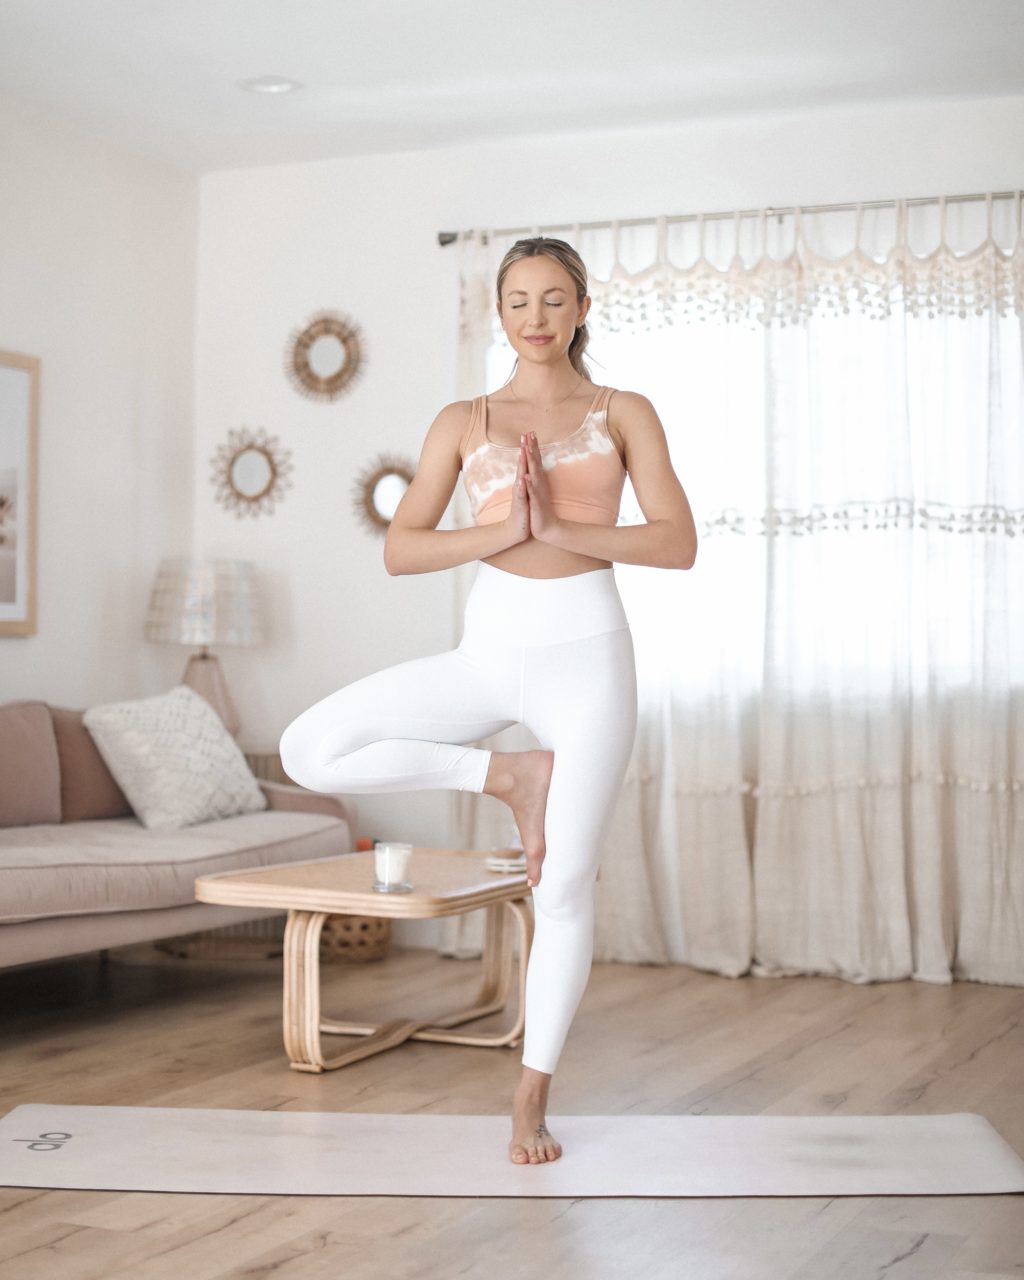
The Sanskrit term for this pose is Vrikshasana, but it is also commonly referred to as tree pose! Tree pose is an incredible posture to help improve balance, but it also strengthens the leg muscles! There’s a couple of different modifications for this pose which I share briefly in this video on my Instagram, but the most important thing to note in this pose is to NEVER place the foot directly on the knee (doing so can cause injury to the knee on the standing leg!), the foot goes either above or below the knee. In order to really find stability in this posture spread the toes and really route through all four corners of the standing foot. Whether you’re placing the foot above or below the knee actively press the foot into the leg as you press the leg back into the foot.
So there you have it, 8 yoga poses for beginners broken down very mildly 😉 A lot goes in to each and every yoga posture but the most important thing is to ALWAYS listen to your body. While there are some basic alignment points that I consider “musts” it’s also important to note that everybody’s body is different, therefore each posture will look and feel different in everyones body! For more yoga inspo definitely head to my Instagram and YouTube channel! I post weekly on my YouTube channel and daily on my Instagram!
Comments Link